Hello, dear readers. Finally I found a little time for a new publication on the blog. And then you probably missed you? In today's lesson, I will show you and tell you, DVD using the GIMP editor.
If you remember, earlier I have already shown a more interesting and expensive version of the scrapbooking style.
I do not argue, it is a very difficult option in all respects. We also need time and appropriate materials, and hands should grow from the right place.
What to do, if I still want to make a disk beautifully? I'm sorry, what? The simplest thing is to buy a finished box under the disk (find in any computer store) and insert the appropriate cover into it.
So here are friends. Today you are just learned create and draw covers for boxes under the disk. And as always, for these good purposes we will use.
Ready? Then let's start a new lesson.
GIMP lesson - how to make a cover for a disk
Step 1. First of all, we go to the store and buy a standard plastic box-box (1 mm end).
Step 2.Now we need to know the size of the cover, which we will make. Look, did you not have breakdown in the closet any movie on a DVD disk? If found such, then excellent! Take out the cover and measure it with a ruler.
And if there is no finished DVD discs with a cover, but you do not want to look for. Then I will tell you a secret, so be! The size of the finished cover on the DVD drive equal to 273 mm by 183 mm.
Step 3.Now the size you know. What's next? Run the GIMP editor and through the menu "File-Create" Create a new document.
In the dialog box that opens, first select millimeters from the drop-down menu, and only then we specify our dimensions.
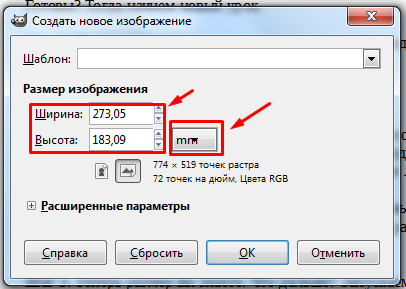
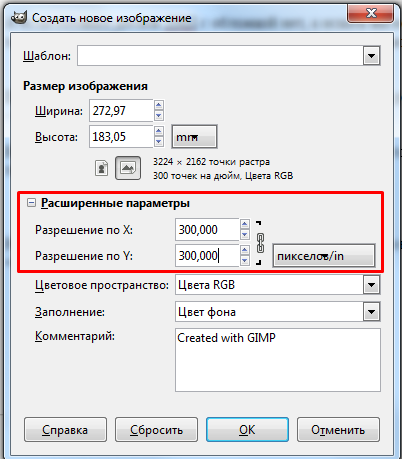
Press paragraph "Extended parameters" And set a new value for the "Resolution" parameter - 300 points.
Step 4. Now with the help of the guides, you need to highlight the central part of the cover, where the end will be located.
For this proceed to "Image - guides - Create a guide"
In the window that opens, set these settings:
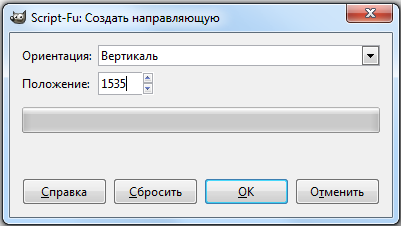
Click OK.
Once again we repeat this step, but with other settings:
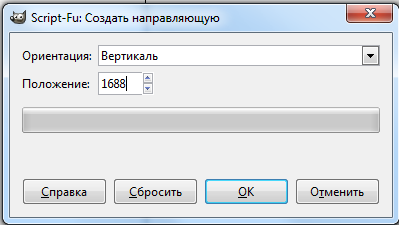
The result of the work done will be the following:
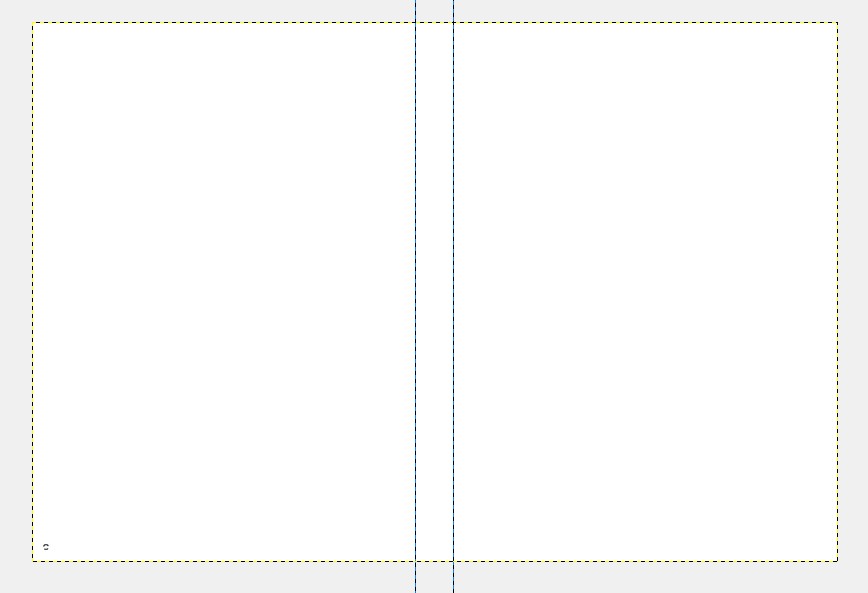
Happened? Little bonus, if you do not want to mess with this step, you can download my workpiece already with the marked guides under the GIMP program.
Step 5.Now we temporarily assign the editor aside and go to look for materials for the cover.
For today, I will do cover for disk with photos From the birthday, which took place in the nightclub. Accordingly, in the design (design of the cover), we must adhere to the stylistics and the subject of the event.
Little legal departure. Remember! Each image has its own copyright holder (image owner). Therefore, it is correct to buy an image in special photo stocks, where you legally acquire the right to use the purchased image, and not to take a picture from the search, as it will be discussed further for educational purposes.
And so, we need a background. For this, I enter the Google search engine in the English phrase " nIGNTClub Backgraund "After that, I switched to the Pictures tab and choose your favorite. At the same time, you need to pay attention to the size of the selected background. The bigger, the better.
Here I liked this:

Please note that I enter the phrase in English. The thing is that in my phrase Keyword Background.which is translated into Russian as a background.
Why not search for pictures right in Russian? I am arguing this by the fact that English-speaking users in the world of the Internet more and respectively and "content" (video, pictures, etc.) is also more.
What else do we need? Let's find a colorful title on the title page with Happy Brithday. I appeal to Google and introduce - happy Birthday.
I choose the first image like a picture:

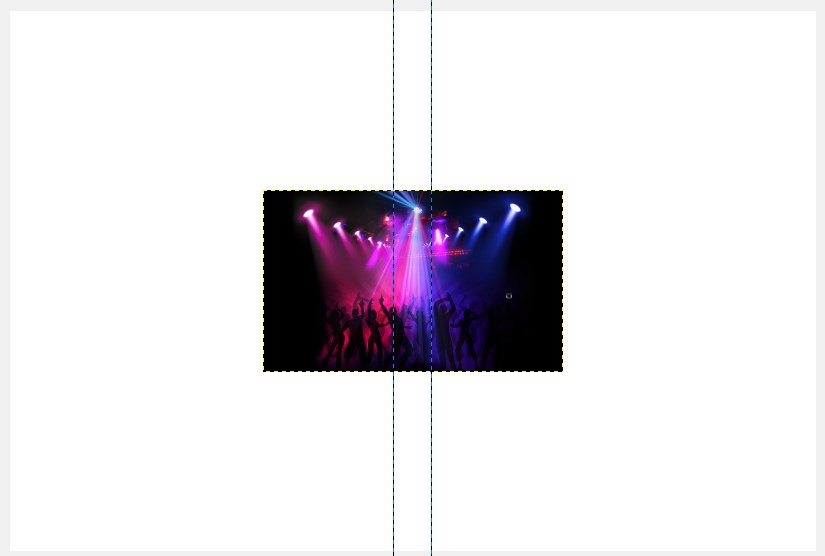
Step 6.Now that the initial materials are selected, we return to the GIMP editor.
Go to the menu "File-open as a layer"and open the background picture.
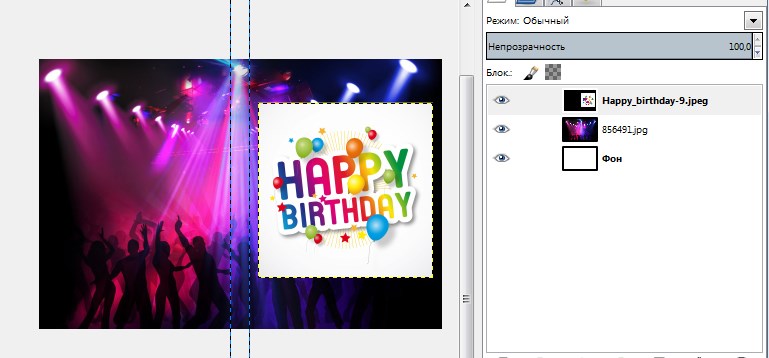
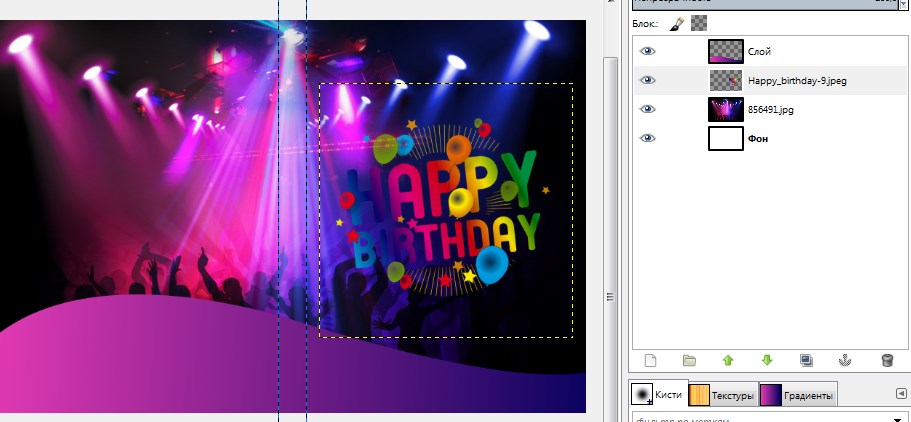
Step 8. Add our title to the work project. To do this again go to the menu "File-open as a layer"and select a file with the title.
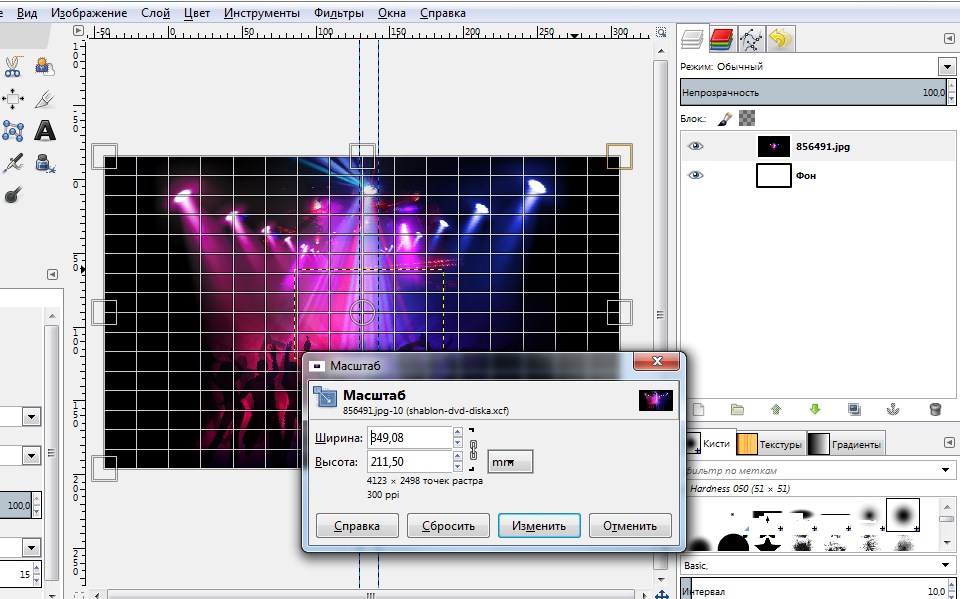
Step 9. Using tools SCALE and Move Customize the size of the inserted picture under the size of the graphic field and position the layer as I have.
Step 10. Now we will take decoration. Create a new transparent layer. I draw a small curve line at the bottom of the cover. To do this take the tool Contours And create such a line.
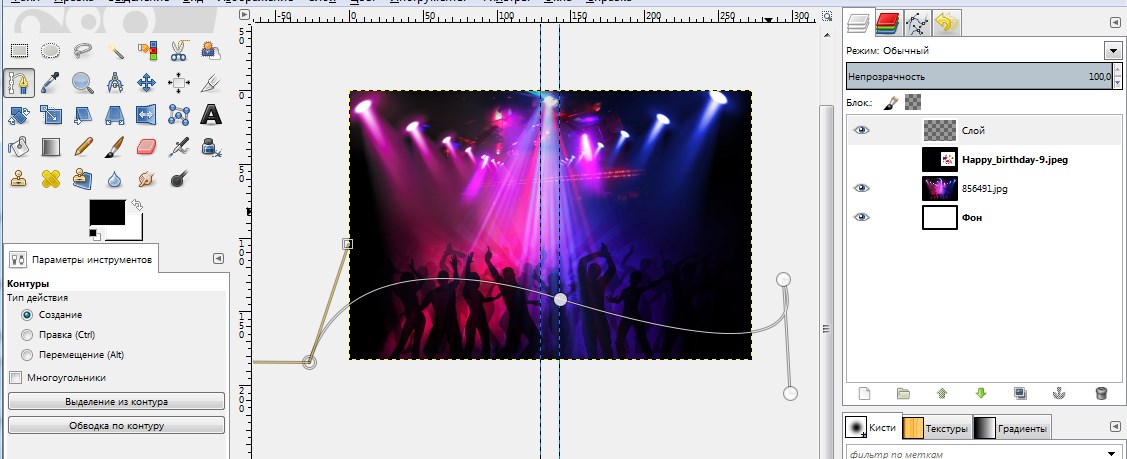
After creating the circuit, click the button "Selection from the contour"
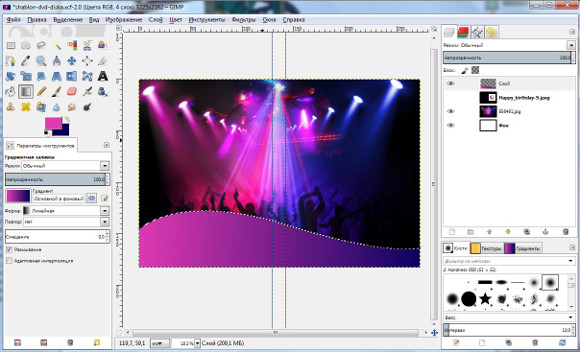
Step 11. Will the resulting area Gradient With a smooth transition. For samples take colors from the background. I now have an intermediate outcome like that. Click on the screenshot to increase it.
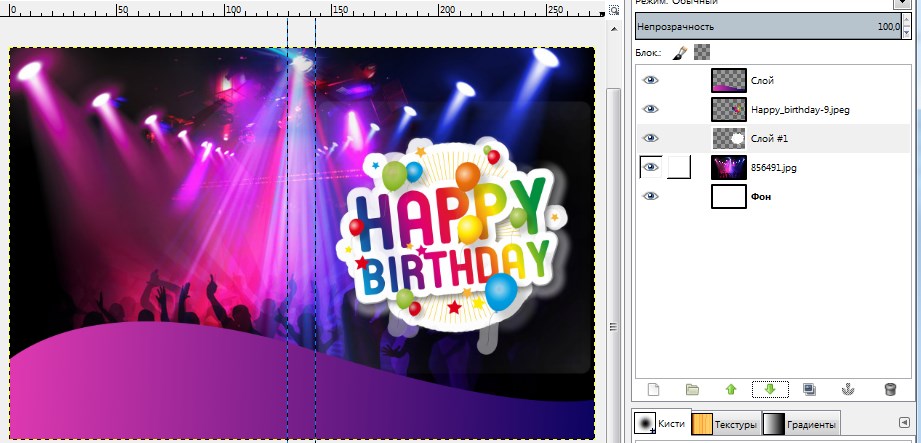
Step 12. Now you need to edit the inserted header. Now he obviously does not fit into the framework of our project. From it you need to remove a white background color.
To do this, we will make sure that we are on the layer with the title and go to the menu "Color - color in alpha channel",where we click OK.

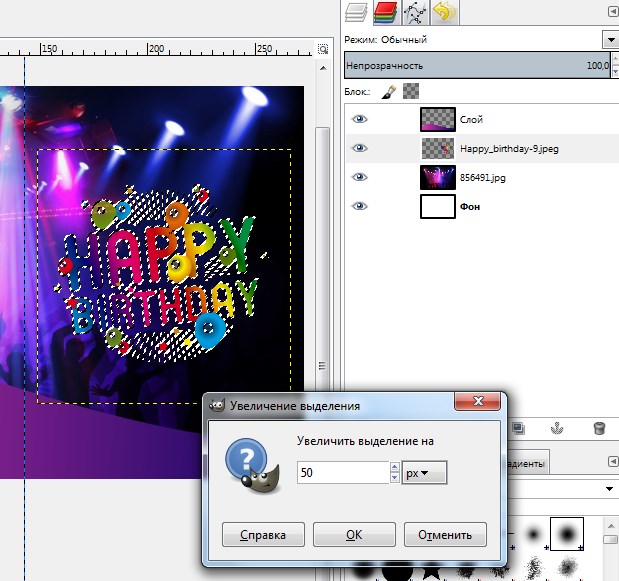
After pressing the icon for creating a new layer and pour this layer with white.
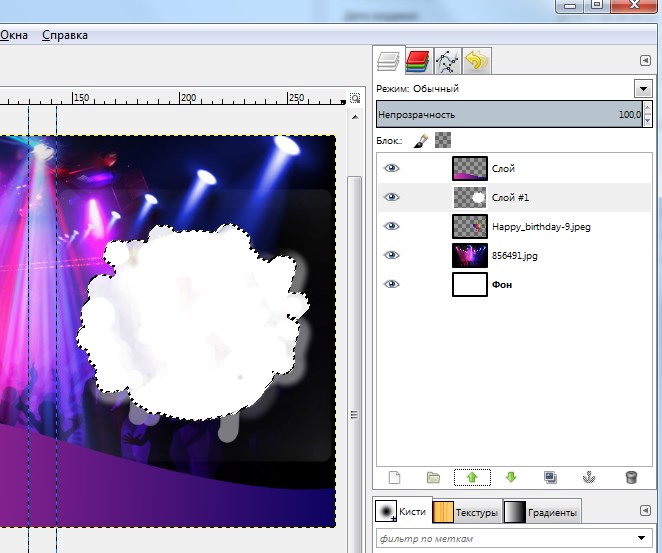
Step 13. What else? Let's highlight the central area (end). To do this, I will create another transparent layer on top of the rest and hollow with it with white. Please note that we will only pour the end before creating Rectangular selection between guides. Change the transparency of the layer using the slider by 50%.

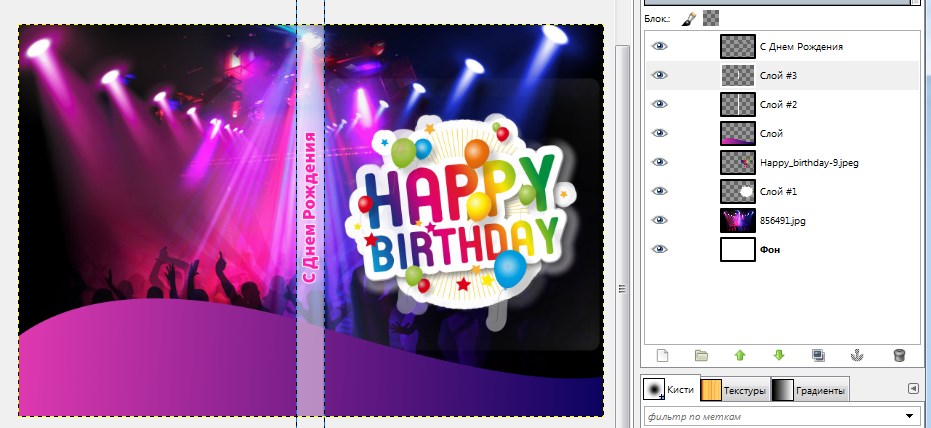
Step 14. In principle, I showed you basic techniques how to add items to the cover. You can now insert the necessary decorations that you consider it necessary, for example, using the Text tool add an inscription to the end.
Step 15. Now it is time to deal with the correct seal of this cover. Next will tell you how I do it.
Through the Export menu and close the editor.
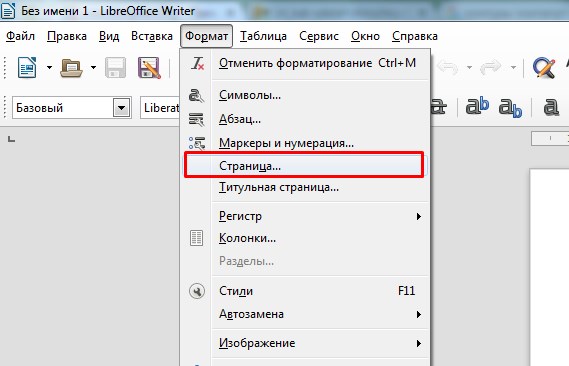
Step 16. Open the text editor Open Office (Libre Office or Word).
Change the orientation of the page on the landscape. IN Libre Office. This is done through the menu Format page-orientation landscape.

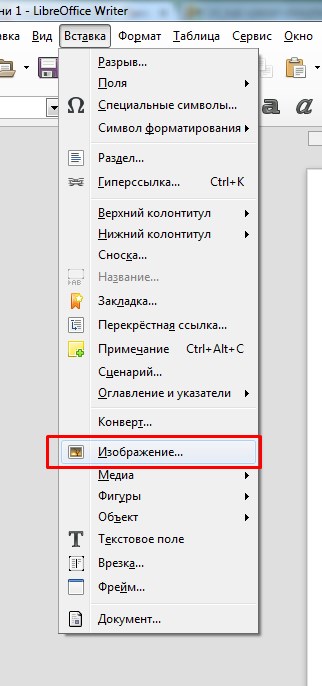
Step 18. Now click right-click on the inserted image and select the item from the context menu. Image format.
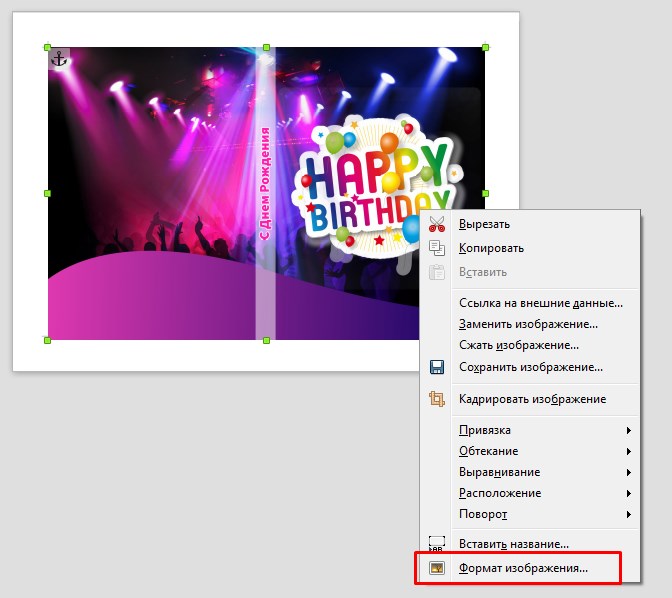
In the window that opens, click the "Source Size" button and close the window.
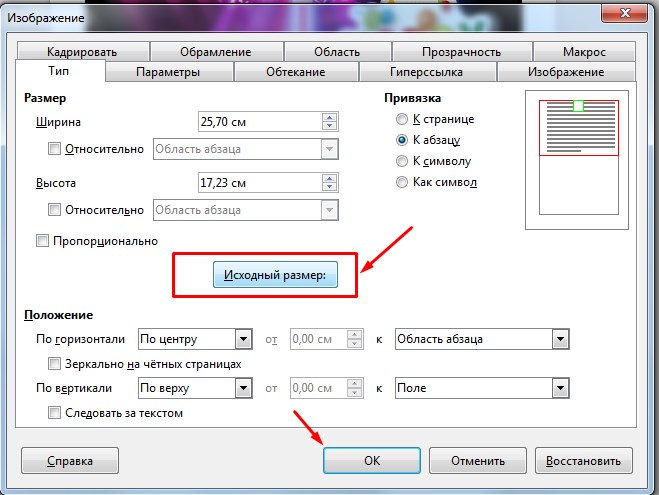
Step 19. Now let's move the image around the center and that's it. We save the result.

Step 20.To save go to the menu File - Export to PDF.
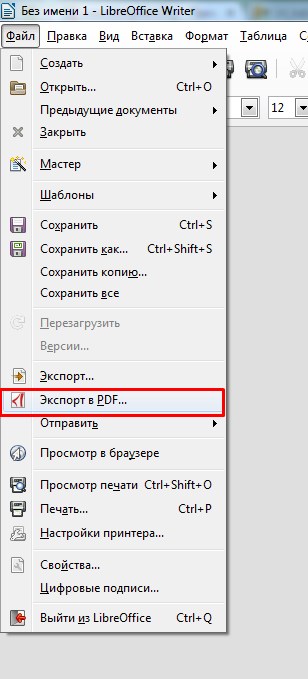
We click OK. As a result, we will have a file that you can safely print.
Step 21. Important! When you print the created PDF file, in print settings, set 1 to 1 scalerather fit the size when setting up printing.
After that, you will receive a printed cover with the size of the graphic area 273 to 183, which will only remain gently cut with scissors, and even better by the stationery knife according to the ruler.
Conclusion
Today I have everything. In this lesson, I showed you the process of making a cover for disk In the free editor GIMP. Now, according to the algorithm represented, you yourself will be able to make covers for DVD discs with your own hands and thereby arouse your home collection of photos or video.