Our little princess, my favorite niece, is approaching the first birthday in her life. For her mother's birthday in February (my younger sister), the children broke the favorite musical toy of our crumb, a glass bowl with a teddy bear. And I did not give to throw a musical mechanism from it with the calculation that I will think of something. And so I decided to make a casket. Girls love caskets. I am a girl myself and I know :) So far, our Sonya is small, mom will collect the treasures beloved girls in the form of beads, rings and bracelets.
One of my hobbies is handmade boxes, and for a long time that I do this, I have already stuck up a lot of all sorts of materials.
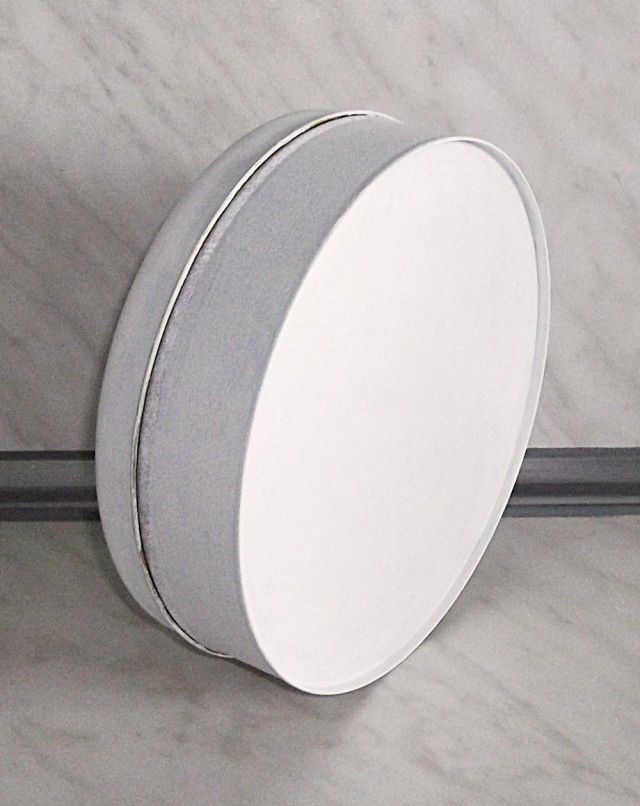
So. We need a tin can from under cookies or candies. You can also buy a tin jar. In stores of goods for needlework you can now find any banks. I found tin jars in a store with tea and coffee. Just banks. But this time I got a bank from under the cookie of the confectionery factory "Spartak". She is big. In diameter 22 cm, and height 7.5 cm.
Metal powder, acrylic primer, acrylic varnish, PVA glue, brushes, decoupable rice card with notes (rice card can be replaced with a decoupable napkin), scissors, music mechanism. We also need a glue gun and adhesive pencil. I like working with rice napkins and cards. Under the influence of glue, they do not rush and not deform. And they have a nice to the touch texture. Everything else will be sealed in the course of work. Sometimes at the very beginning I do not know what I get as a result. That is, usually at the very beginning there is some theory, but very often something changes in the process.
But in my bank there is one substantial minus. The surface of the lid is not smooth. It was squeezed with peopling. Therefore, I took a car putty on the metal and all this was lined up. There is no photo of the process, as it was no one to take pictures, moreover, the putty stinks extremely sharply and unpleasant. When the putty dried, it is necessary to take it. I specifically did not open until perfect evenness and smoothness.
Then cover the entire future bath car with a soil in one, and better in two layers. The second layer is applied only after the first layer is pretty dry. I think you do not need to explain why the soil is needed.
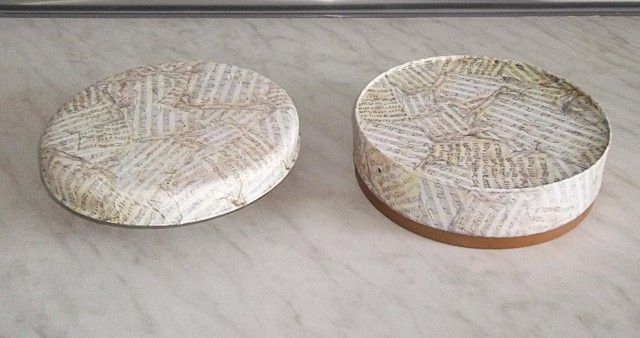
So everything dried. Came a turn of our napkin. First, get the lid. Remember labor lessons in elementary school. Cut the circle with a diameter with an equal diameter of the top of the cover plus the height of the cover plus a pair of centimeters just in case. We make a tassel glue to the lid and gently apply our circle to the top of the cover, grow up so that there are no folds. Very neat, not to break. Unfortunately, there is no photo of the process, because there was no one to photograph. They scattered on the top, now we take a cover in your hands and neatly wetting in the glue, we glue the card to the side walls of the lid. In the same way, it saves the lower part of our future casket. It is easier. Need a strip height from the lock rim to the bottom plus height to the bottom. I have a plus of 5 mm to the main length. And circle. We put our casket on the card and outline it with a pencil. We put to dry.
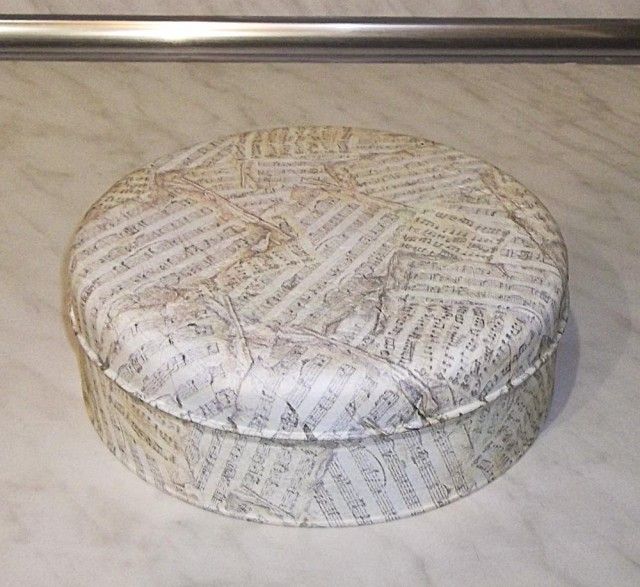
I have a few hours. The glue must completely dry before applying varnish. Otherwise, varnish will stick to the hands. I bought a lacquer for wood in the construction store. Special varnishes for decoupage led me more than once. They are expensive and lamp to the hands in the finished product. So I went and bought a varnish in a construction store. I do not like gloss, because when choosing a varnish, I stopped on a varnish, which has a matte surface.
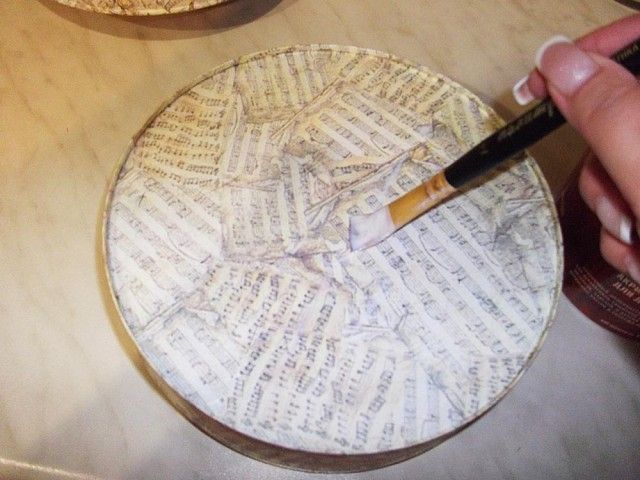
So, the next stage will be varnish. Varnish need to apply strictly according to the instructions. In two layers. Thoroughly drying each layer.
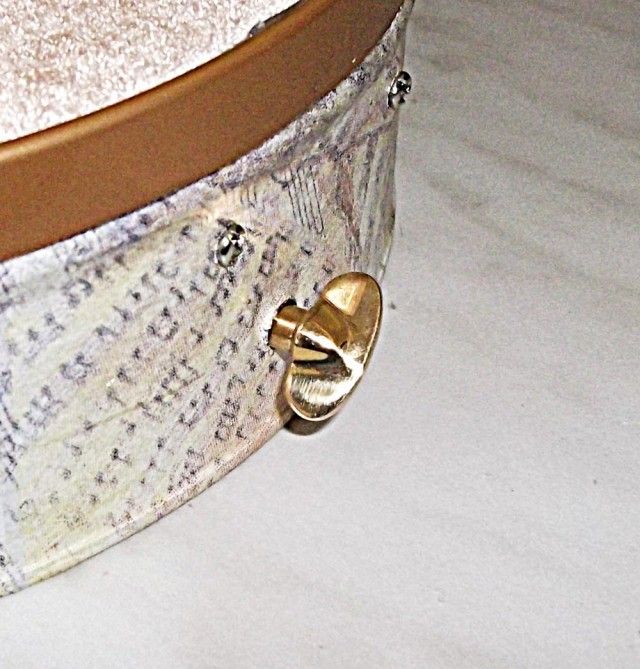
Here you go. Dried. Now the most interesting begins. At the very beginning, I forgot to make a hole under the musical mechanism, so I had to make a hole after applying varnish. Make a hole very carefully. I neglected the safety technique and hooked myself into my finger a screwdriver right in a wreath. Bay hole with peroxide and hardly stopping blood, I began to fasten the musical mechanism. In view of the fact that I was slightly injured, I forgot to take photos of this process. Then it turned out that the key that I picked up the familiar watch master is very big and ugly. And then, with the help of his charm, he persuaded a familiar Tokar to make me a small key of brass. Here he is a handsome man.
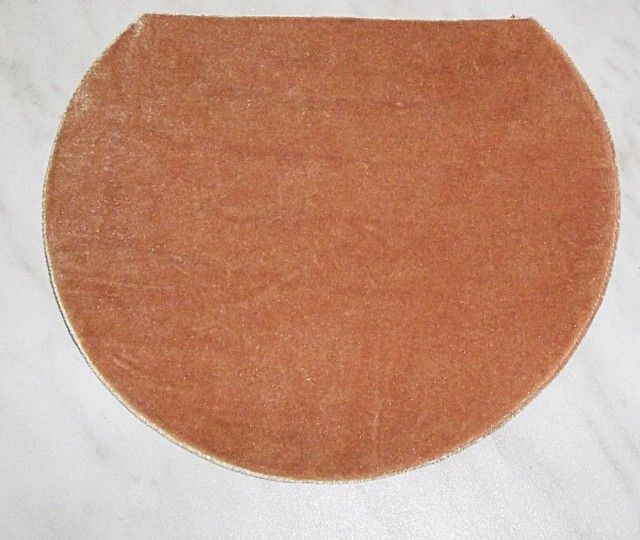
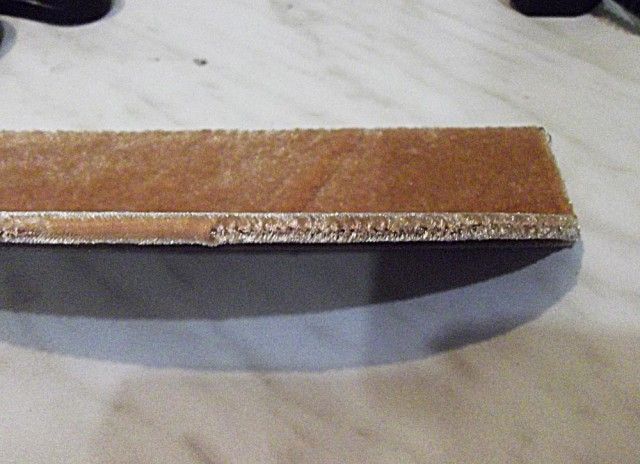
So. Now proceed to work on the inner "decoration". First of all, you need to separate the walls, the bottom and hide the mechanism. Take a cardboard and cut out the details. Somewhere long ago dug very cool compressed cardboard with a thickness of 3 mm. From it I cut the details that I will hide the mechanism. Rodyshko and the sidewall cut out from cardboard with a density of 300 g / m2. The same parts are only with a bunch of velvet. Here they are details. We take adhesive pencil and velvet. I really like to glue the fabric to the cardboard it is glue pencil. I buy expensive pencils firms Kohinor or Erich Krause. But now, as I did not find it, I did not find any other and again bought in the construction store the most expensive adhesive pencil of the German manufacturer. I took at your own risk, but he justified himself. So, we apply glue to cardboard and apply velvet. Let me dry and lingify the allowances. Something like this.
Sidewink

This is a box under the mechanism
back side
Donyshko
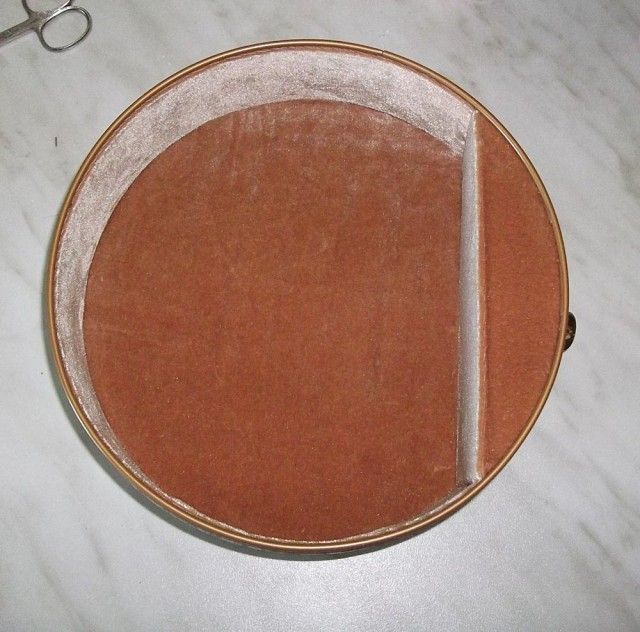
With the help of a glue pistol, we fix velvet parts inside the box. Now in the finished form.
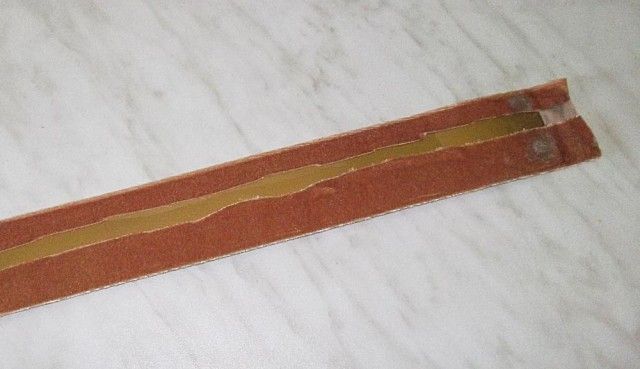
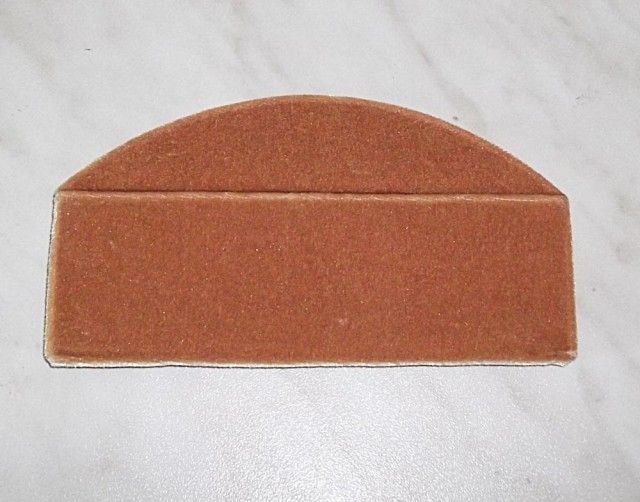
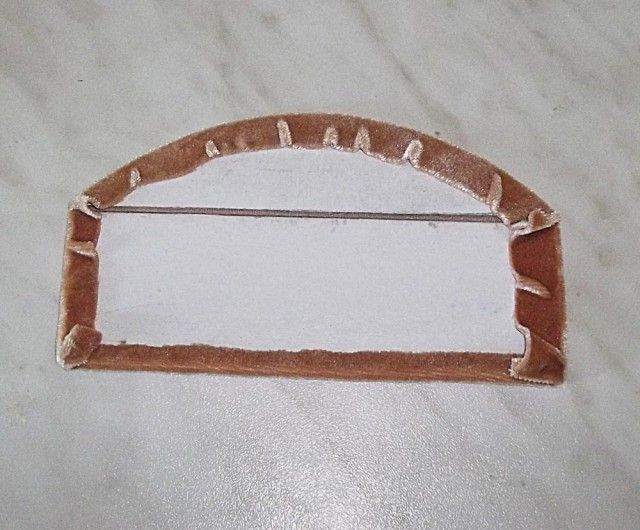
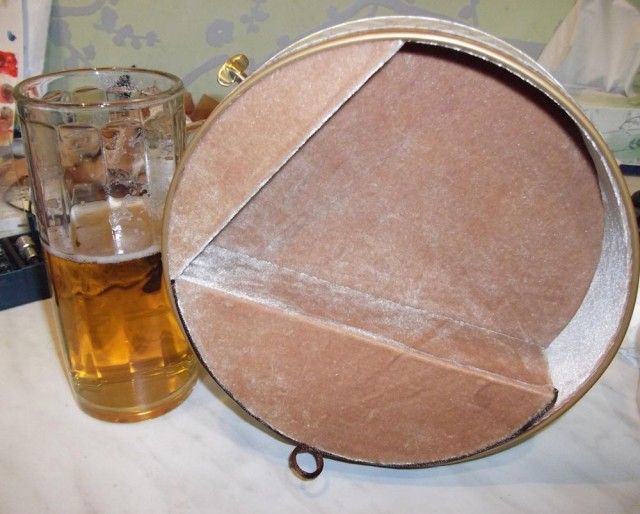
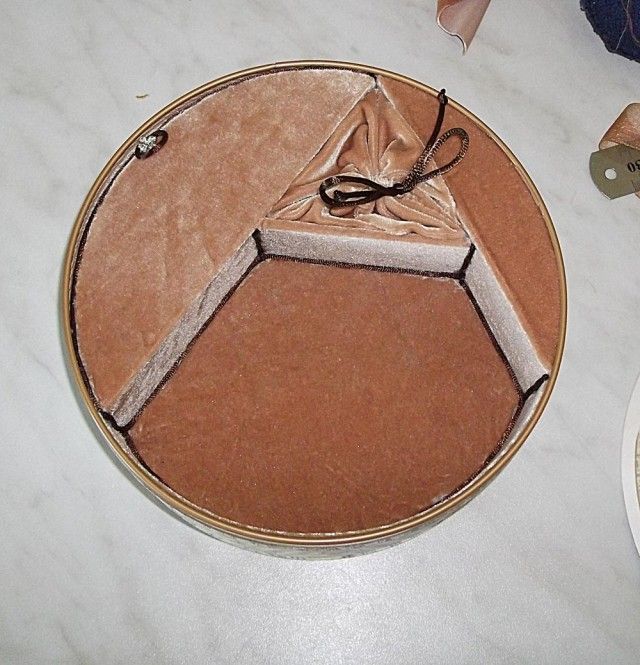
Further make the boxes for trifles. Initially, I wanted to make a box that would be a continuation of the box under the mechanism. But when I did everything, I realized that it turns out some garbage and decided to make the boxes separately. Cut sector circle (cover) and a wall of thick cardboard. They sailed together at a distance of 4 mm from each other so that the design bent. Cut the velvet along the edge. A thread with a needle sewed the edge of velvet. And fixed everything inside the casket. Everything seemed to me pale, and I pulled a brown satin cord with an adhesive gun with the help of a glue gun. Beads as a stopper so that the lid does not fail.
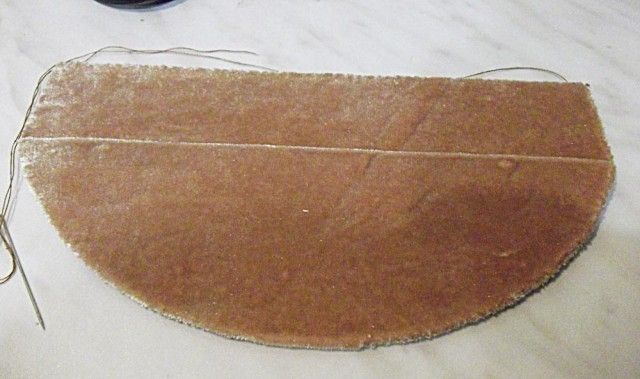
Come on both sides. Bends.
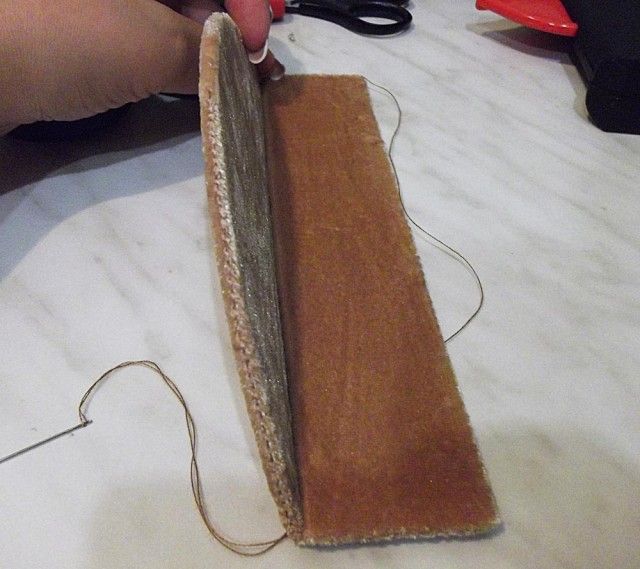
Stitching edges
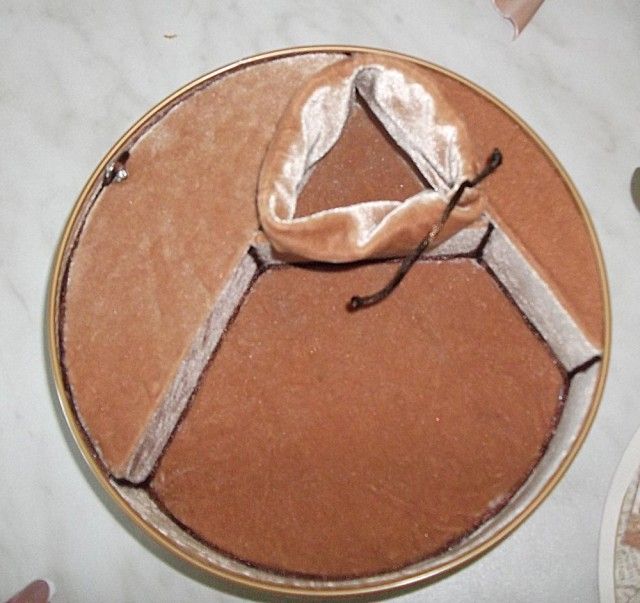
I looked at the result and decided to add another branch. And in order to be interesting (I do a casket for a girl) instead of the lid made imitation of a bag tightening the satin cord. Everything is attached to the adhesive gun. Here you go. It seems to be nothing like that.
Here's already with a bag
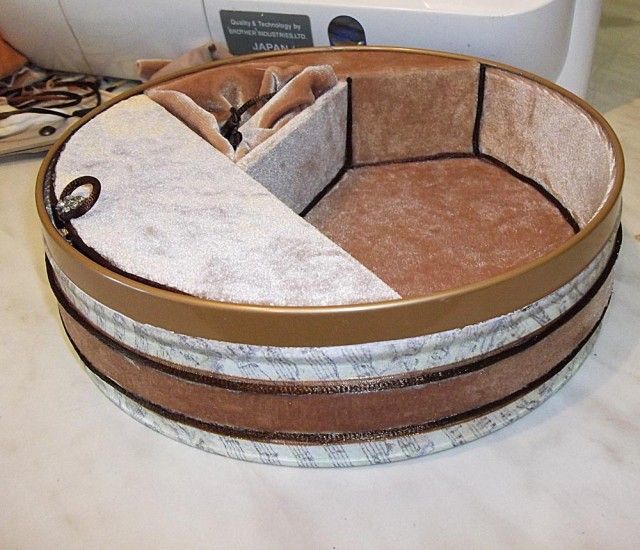
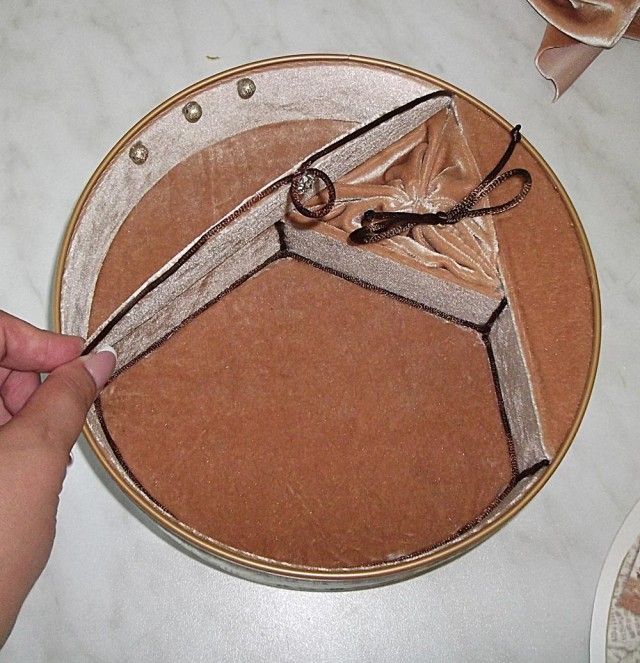
Now you need to decorate the outdoor part of the casket. I honestly and for a long time and in different places I was looking for a braid that I was needed, but did not find it. And therefore I bought what was to do what I would have arranged. Organza tape, satin cord and velvet strip. I took a ribbon from the organza and an iron with the help of the adhesive braid glued to her velvet strip. All this beauty I glued with a glue gun to the box. Something is missing. Pale. Then I glued an adhesive gun on the edge of velvet tape with a glue gun. From the velvet and ribbon from organza, I built a bow and attached it next to the clavicle. So I hid the jock of the braid and hid a little bit.